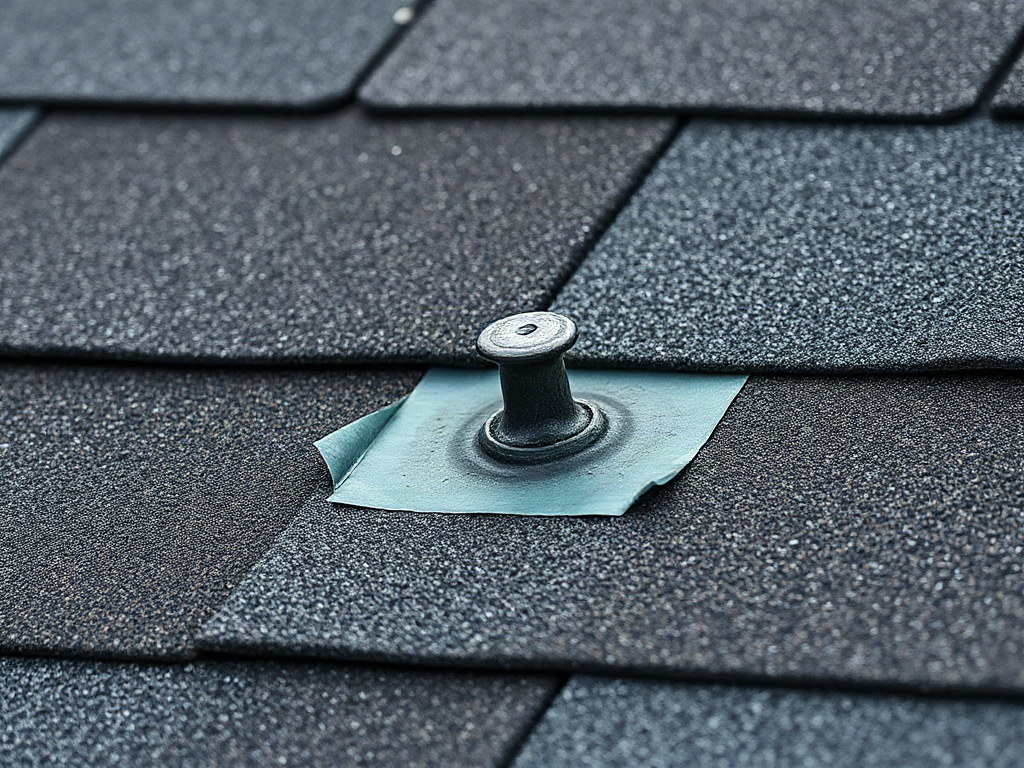
Roof nails backing out and causing leaks usually indicate poor fastener placement, missed roof decking, installation through an unsuitable shingle area, or movement in the decking beneath the shingles. A raised nail can lift or puncture the shingle above it, creating a path for wind-driven rain and capillary moisture. Proper repair means inspecting the surrounding shingles and sheathing, removing the loose fastener, installing a compatible roofing nail into sound decking, and sealing or replacing damaged material as appropriate. Repeated nail pops, widespread staining, soft decking, or a steep and difficult roof warrant evaluation by a qualified roofing contractor.
What you’ll learn
This guide covers the following practical points:
- Why Roof Nails Back Out — A roofing nail stays secure only when its shank penetrates sound decking and its head holds the shingle flat without cutting into it.
- How Raised Nails Create Leaks — A backed-out nail does not need to leave a large open hole to admit water.
- Inspect Nail Pops and Water Damage — Inspection should establish whether the problem is one isolated fastener or evidence of a broader installation or decking defect.
- Repair Loose Roofing Nails Correctly — A durable repair restores fastening into solid decking and corrects any shingle damage caused by the raised nail.
Why Roof Nails Back Out
A roofing nail stays secure only when its shank penetrates sound decking and its head holds the shingle flat without cutting into it. Problems develop when a nail misses the deck, lands in a sheathing joint, enters deteriorated wood, or is driven at an angle. A fastener that initially appears seated may then rise as the roof assembly responds to temperature and moisture changes.
Incorrect drive depth creates two different failure modes. An underdriven nail starts with its head above the shingle surface, while an overdriven nail can break through the shingle mat and lose much of its holding value. Pneumatic nailers can produce either condition when pressure is not adjusted for the decking, roofing material, or ambient temperature.
Deck movement may contribute as well. Wood sheathing can swell, shrink, or flex, while an inadequately supported panel edge may move under foot traffic or changing loads. The common mistake is to blame every raised fastener on normal expansion. A cluster of nail pops may instead reveal poor installation, weak sheathing, or fasteners that are too short for the roof assembly.
How Raised Nails Create Leaks
A backed-out nail does not need to leave a large open hole to admit water. Its head can push against the underside of the overlying shingle, eventually wearing through it or holding the shingle tab high enough for wind-driven rain to enter. Water may also follow the nail shank through the original hole in the shingle and underlayment.
The indoor stain is rarely a reliable map of the exterior defect. Water can travel along underlayment, decking joints, rafters, or the back of ceiling material before becoming visible. For example, a ceiling mark several feet downslope from a nail pop may originate higher on the roof. That is why sealing the fastener nearest an interior stain can fail to stop the leak.
Exposed nails deserve special attention around ridge caps, vents, flashing, and previous repairs. Some roofing details legitimately use face-fastened nails, but those fasteners require placement and weather protection appropriate to the roofing system. A dab of deteriorated sealant over a nail head is not proof that the detail remains watertight.
Inspect Nail Pops and Water Damage
Inspection should establish whether the problem is one isolated fastener or evidence of a broader installation or decking defect. From the attic, when access is safe, look for darkened sheathing, damp insulation, rusted nail tips, active drips, or daylight through damaged material. Moisture marks should be traced upslope rather than treated as the exact entry point.
From the exterior, a raised bump, lifted tab, exposed nail head, split shingle, or localized loss of adhesion may identify the affected area. Avoid walking on wet, icy, steep, brittle, or very hot roofing. Binoculars or a camera with zoom can reveal obvious defects from the ground, although they cannot confirm the condition beneath a shingle.
A useful inspection sequence is:
- Document the interior: Mark stains and note whether they change during wind-driven rain.
- Check the attic: Trace moisture toward the highest damp point that can be accessed safely.
- Examine the roof area: Look upslope and around penetrations, laps, ridges, and earlier patches.
- Assess the pattern: Treat repeated pops, soft decking, or widespread shingle lifting as a larger defect.
A dry nail tip during one inspection does not rule out leakage. Intermittent entry may occur only when rain approaches from a particular direction. The repair is working when the shingle lies flat, the replacement fastener remains seated, and the area stays dry through subsequent weather—not merely when the visible bump disappears.
Repair Loose Roofing Nails Correctly
A durable repair restores fastening into solid decking and corrects any shingle damage caused by the raised nail. Simply hammering the old nail down often reuses an enlarged hole or weak attachment point, allowing the fastener to rise again. Smearing roof cement over a moving nail may provide temporary resistance to water but does not restore mechanical attachment.
For an isolated defect in otherwise serviceable asphalt shingles, the usual approach is to loosen the affected shingle carefully, remove the problem nail, and install a compatible roofing fastener nearby where it can engage sound decking. The abandoned hole must be sealed with a roofing-compatible material, and the shingle should be resealed according to its condition and the roofing manufacturer’s instructions. A torn, cracked, punctured, or permanently distorted shingle is generally better replaced than flattened and covered with sealant.
The exact repair changes when the loose nail is in ridge material, metal flashing, a vent flange, or another specialized detail. Driving a new fastener through an exposed drainage surface can create a second leak path. Fastener type, corrosion resistance, location, and sealing method should match the roof system rather than whatever nail or caulk happens to be available.
Professional repair is the safer choice when access requires working near an edge, the slope is difficult to stand on, decking feels soft, water has reached electrical fixtures, or multiple roof areas show raised nails. Widespread defects may require lifting or replacing a larger section so the contractor can examine the sheathing. Repairing visible heads one by one can conceal the pattern without correcting its cause.
Frequently Asked Questions
Can I Hammer a Popped Roof Nail Back Down?
Hammering it down may hide the bump temporarily, but the original hole or decking may no longer hold it securely. Removal, refastening into sound decking, and repair of the old hole is more durable.
Should Roofing Cement Be Applied Over a Raised Nail?
Roofing-compatible sealant may be part of a correct repair, but coating a loose nail does not restore its grip. The fastener and any damaged shingle or flashing detail must be addressed first.
Why Do Roof Nail Leaks Appear Away From the Ceiling Stain?
Water can move downslope across underlayment or follow decking and framing before dripping. Exterior inspection should therefore extend upslope and around nearby penetrations rather than focus only above the stain.
Do Multiple Nail Pops Mean the Roof Needs Replacement?
Not automatically. Several pops can indicate installation or decking problems, so the roof should be assessed for shingle condition, fastening patterns, sheathing strength, and the extent of moisture damage.
Can a Backed-Out Nail Damage the Shingle Above It?
Yes. The nail head can lift, crease, or wear through the overlying shingle. A visibly punctured or permanently deformed shingle may need replacement rather than resealing alone.
Conclusion
A raised roofing fastener is a small defect with the potential to damage shingles, admit rain, and expose weak decking. Check both the visible nail and the surrounding roof assembly, remembering that water may travel before appearing indoors. Replace loose fasteners in sound material, repair abandoned holes, and replace compromised shingles. Use a roofing contractor when defects are widespread, decking is soft, or safe access is uncertain.