Building an emergency raft is a crucial skill for flood survival. Here’s how you can construct a reliable floatation device using simple materials and tools, ensuring you and your loved ones stay safe if the waters rise.
Step 1: Gather the Right Materials
# Finding Basic Supplies
When tasked with constructing an emergency raft, your initial step should involve collecting suitable materials. Search for large, lightweight objects that float well, such as plastic barrels, old pool floaties, or any robust containers at hand. These items should be capable of supporting your weight and any additional load. Don’t shy away from asking local stores or neighbors if they have materials to spare; you might be surprised by their willingness to help. Once your materials are collected, organize them in one location to streamline the subsequent steps. This organization is vital to avoid frantic searches when floodwaters are imminent, akin to the stress of misplaced keys when you’re already late.
# Choosing the Right Tools
Gathering essential tools is your next task. Basic items like a sturdy saw, some rope, and duct tape (a versatile must-have) should suffice. It’s advantageous to have buoyant materials like pool noodles or air-filled bags for extra floatation. Having these tools prepared simplifies the construction process, making you feel more confident and organized.
# Safety Gear
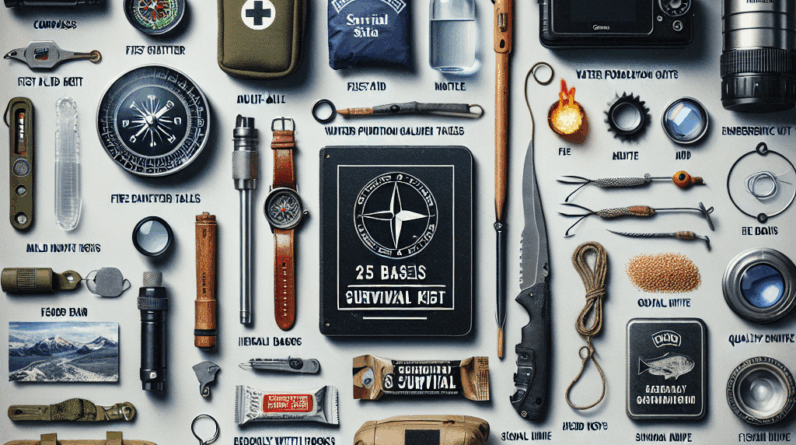
Do not overlook safety preparations. Equip yourself with essential safety gear such as a life jacket and a whistle. Also, keep a first-aid kit and a weather radio or a charged phone to monitor weather updates, which are crucial during floods. Staying calm and equipped reassures and helps maintain clarity of mind in preparing your raft.
Step 2: Design Your Raft
# Planning the Structure
Once you have your materials, it’s time to design your raft. Sketch a simple blueprint to guide your construction, focusing on the raft’s load capacity, stability, and size. This planning prevents poorly built rafts that could fail in critical moments.
# Weight Distribution
Proper weight distribution is critical. Arrange heavier items centrally and lighter ones around the perimeter to maintain balance. Testing your raft in mild conditions can reveal any design flaws before facing stronger currents.
# Extra Support Features
Consider adding safety nets or a canopy for protection against elements and to enhance the raft’s structural integrity. Secure storage solutions for your belongings are also essential to prevent loss during navigation.
Step 3: Assemble Your Raft
# Building Process
Now, begin constructing by arranging your buoyant materials into a stable base, possibly securing barrels with rope. Involve friends or family to make the process enjoyable and efficient, ensuring everyone understands their role to avoid confusion.
# Securing Everything
Ensure all parts of your raft are tightly secured with ropes and duct tape, paying extra attention to potential weak points. If your raft includes additional features like nets or canopies, test these thoroughly.
# Testing It Out
Before full deployment, conduct a trial run in calm waters to evaluate your raft’s performance. Make adjustments as necessary to ensure safety and functionality.
Step 4: Prepare for Operation
# Pack Essential Items
After building and testing the raft, pack necessary items for your journey. Prioritize essential survival items and distribute weight evenly to maintain the raft’s balance. Communication with your group is crucial; ensure everyone understands their roles and emergency procedures.
# Final Checks
Perform a final inspection of your raft, checking for any overlooked issues. Personal safety gear should be worn correctly, and all equipment should be secure.
Step 5: Launch and Navigate Safely
# Launching the Raft
Choose a calm area for launching to prevent accidents. Board the raft steadily to maintain balance and avoid tipping.
# Navigating the Waters
Once afloat, remain vigilant of water conditions and potential hazards. Maintain clear communication with your crew to navigate safely through floodwaters.
# Emergency Protocols
Ensure all passengers are familiar with emergency protocols and the locations of safety equipment. Effective communication and preparedness are key to managing unexpected situations.
FAQs
1. What materials do I need to build an emergency raft?
You will need lightweight, buoyant materials such as barrels or pool floaties, along with tools like rope, a saw, and duct tape. Don’t forget essential safety gear such as life jackets.
2. How do I ensure my raft is stable?
Balance the weight evenly across the raft and secure all connections firmly. Testing in shallow water before venturing into deeper areas is advisable.
3. What safety gear should I pack for an emergency raft trip?
Essential items include life jackets, a first-aid kit, food, water, a weather radio, and signaling devices. Prepare for unexpected situations.
4. Can I build a raft alone?
While it’s possible to build a raft alone, it’s safer and more enjoyable to have at least one other person assist you.
5. How do I launch my raft safely?
Find calm water for launching and board the raft carefully to avoid tipping. Ensure all items are securely packed.


