Building an emergency kit doesn’t have to break the bank. With careful planning and strategic purchasing, you can assemble a comprehensive and cost-effective emergency kit tailored to your specific needs. Here’s how to get started and maintain your kit over time.
Assess Your Needs
# Understanding What You Need
Alright, first things first. Before you even think about tossing stuff into a kit, it’s crucial to understand what you need for emergencies. Are you preparing for natural disasters like hurricanes or earthquakes? Or do you need a kit for those unexpected road trips? Knowing this will save you time and money in the long run.
In my experience, I realized that not all emergencies are the same. Each scenario might require different items. For instance, if you’re in an area prone to floods, you’d want waterproof bags and more food supplies. Take a moment to assess the types of emergencies you might face in your area.
Getting specific means your kit won’t be overflowing with things you might never use. Focus on essentials that cater specifically to your circumstances. Write down a list—it can be on paper or in your notes app. It’ll serve as your guide throughout this process.
Gather Basic Supplies
# Essential Items to Include
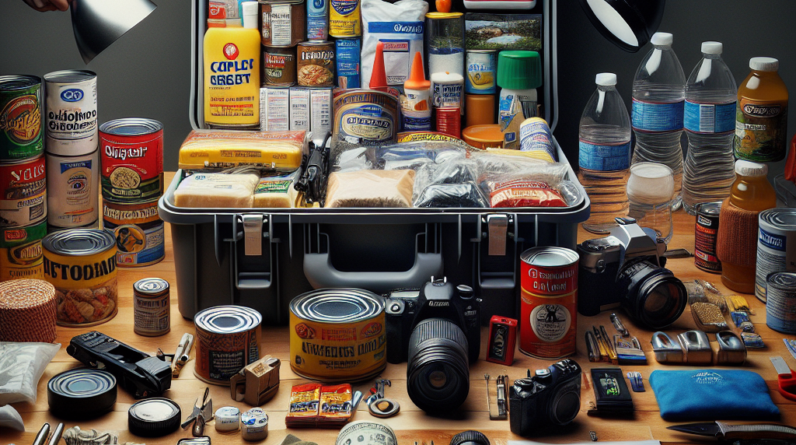
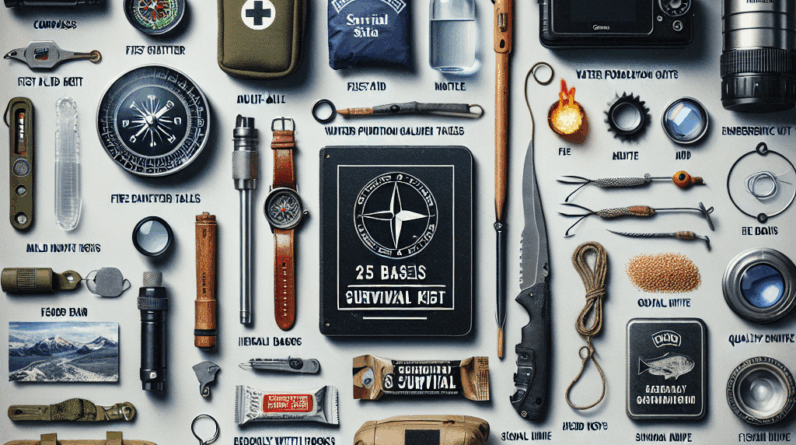
Once you’ve outlined what you need, it’s time to gather those basic supplies. Think of it like shopping, but instead of heading down the snack aisle, you’re picking up life-saving gear. You’ll want food, water, first-aid supplies, and basic tools.
When I started building my kit, I stumbled upon a checklist online, and it was a game changer. It highlighted things I’d never even considered. Non-perishable food items like canned goods, energy bars, and dried fruits are great options. Trust me, your future self will thank you when you have a stash of grub handy.
Don’t forget to stock up on water! The general rule is one gallon per person per day for about three days. I always keep a couple of sturdy water bottles and a water filter just in case—because who wants to run out of clean water during a crisis, right?
Homemade DIY Solutions
# Get Creative with Your Kit
Now, let me tell you about the fun part: DIY solutions! Sometimes, we overlook items we already have around the house. An old backpack or cooler can make a perfect emergency kit container. So dig around – you might find gold!
For instance, instead of buying high-end first-aid kits, I put one together using supplies from my medicine cabinet. Band-aids, antiseptic wipes, and gauze—simple things that often sit unused but can be lifesavers. It didn’t cost me a dime since I was just repurposing what I already had!
You can also create makeshift tools. A simple sewing kit can be a total lifesaver. If clothes tear or gear breaks in emergencies, having needle and thread on hand can help patch things up. A little ingenuity goes a long way!
Invest Wisely
# Prioritizing Your Purchases
While we’re all about saving money, investing in some higher-quality products can be worth it. Flashlights, for example, can come in handy when the power’s out. I remember my spotlight went out during a storm, and it was game over until morning.
When choosing these products, look for durability and efficiency. Brands that offer warranties often have better products. You don’t have to blow your budget, but sometimes, a slight increase in up-front cost can save you from major headaches later!
I also recommend checking out local thrift stores or discount outlets. You’d be surprised at what you find! Sometimes you can score lightly used items that are just as good as new for a fraction of the price.
Regularly Update Your Kit
# Keeping Your Supplies Fresh
Okay, once you’ve built this bomb shelter of a kit, your work isn’t done! You’ve got to keep everything updated. Some items might have expiration dates, like food and medications. I learned this the hard way, trust me. I discovered an ancient can of chili that had seen better days!
Set a reminder every six to twelve months to review your kit. Check for expired items, and also consider shifting needs. Maybe your family has grown, or you’ve moved to a different area with different risks!
It’s a good idea to rotate supplies too. I always eat some of the snacks in my kit. This way, I’m ensuring that I have fresh food while also keeping emergency items current. Plus, it’s a great way to regularly assess your kit without it becoming a chore!
FAQs
# 1. How much should I expect to spend on a budget-friendly emergency kit?
It really depends on what you include, but you can start with basic supplies for as little as $50. By focusing on essentials and DIY solutions, I’ve found you can build a robust kit without breaking the bank.
# 2. How often should I check my emergency kit?
It’s best to check your emergency kit at least twice a year. Regular updates help replace outdated supplies and keep things fresh, which is essential during an actual emergency.
# 3. Do I need special training to create an emergency kit?
No special training is needed! The process is straightforward—just gather information based on your needs and follow the steps outlined in this article. The biggest requirement is a willingness to prepare!
# 4. Can I include items specific to children or pets in my kit?
Absolutely! If you have kids or pets, make sure to include supplies tailored for them, such as diapers, baby food, pet food, or any medications they might need in an emergency.
# 5. What’s the most important item to include in an emergency kit?
While all items are important, I believe the basics—water, food, and first-aid supplies—are crucial. These are the foundational elements that will help you manage most emergency situations effectively.


